How to set an email signature
Gmail:
- In your browser navigate to mail.google.com.
- In the upper right corner locate and click the gear icon
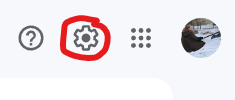
- In that menu, click See all settings.
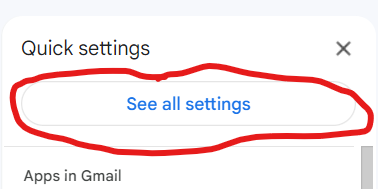
- Scroll down to nearly the bottom of the General tab to find the signature option.
- If you want to edit a signature skip to step VII.
- Click the Create new button.

- Give your signature a name.
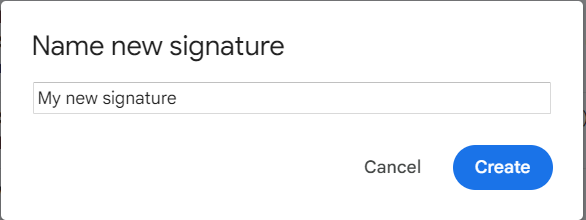
- Select the signature just created or the one you want to edit.

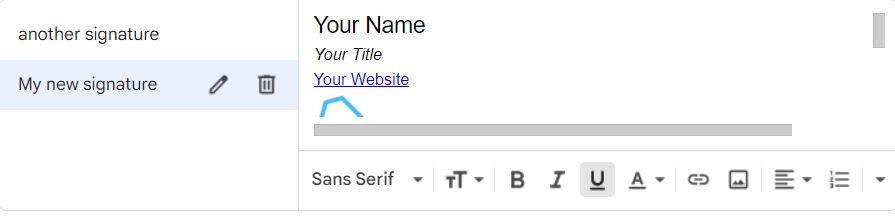
- Make the edits you want in the text box to the right of the signature list.
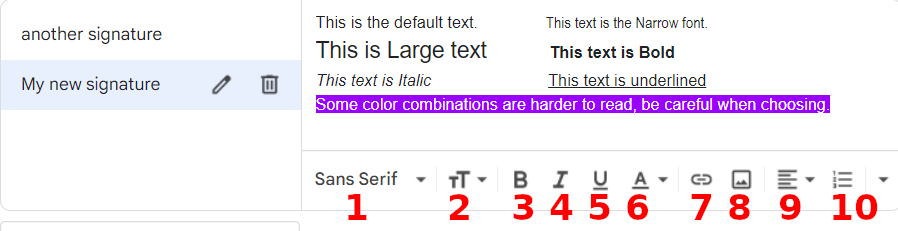
- Changes the font type.
- Changes the size of the text.
- This toggles bold on or off for the text to be written or any text that is highlighted.
- This toggles italics on or off for the text to be written or any text that is highlighted.
- This toggles underline on or off for the text to be written or any text that is highlighted.
- This option lets you choose the color of the text or its background.
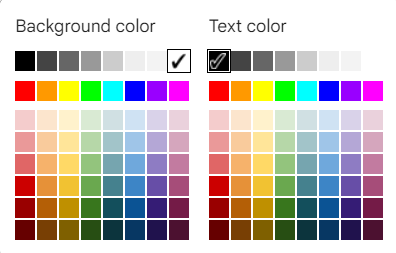
- Select the text you wish to change then click the button to open the color selection menu. You'll have to do this for each change you want to make.
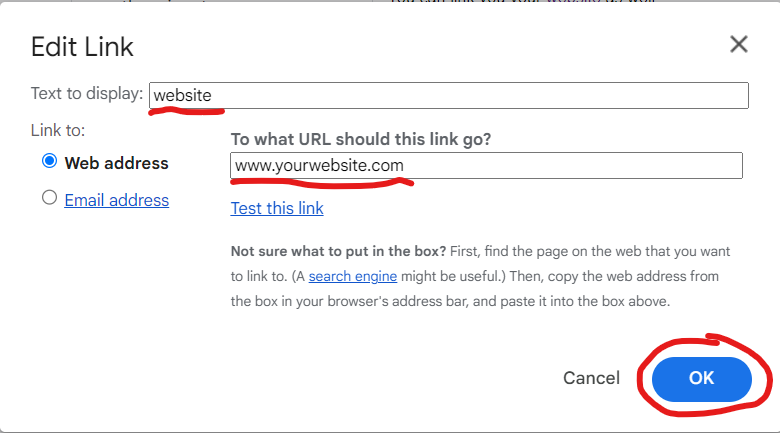
- This allows you to add a link to your signature. Select the text you want to be the link, then click this button. The text you selected will shown and the web address or email address can be entered below it. If you are entering an email address be sure to click that circle. Once your done click OK.
- This button allows you to add a picture to your signature. You can add pictures from your computer (Upload), your google drive (My Drive), or a website (Web Address). For this example, I'll use an image from my computer.
- Select upload and click Select a file from your device.

- Choose the picture you want to upload from your computer and click open.
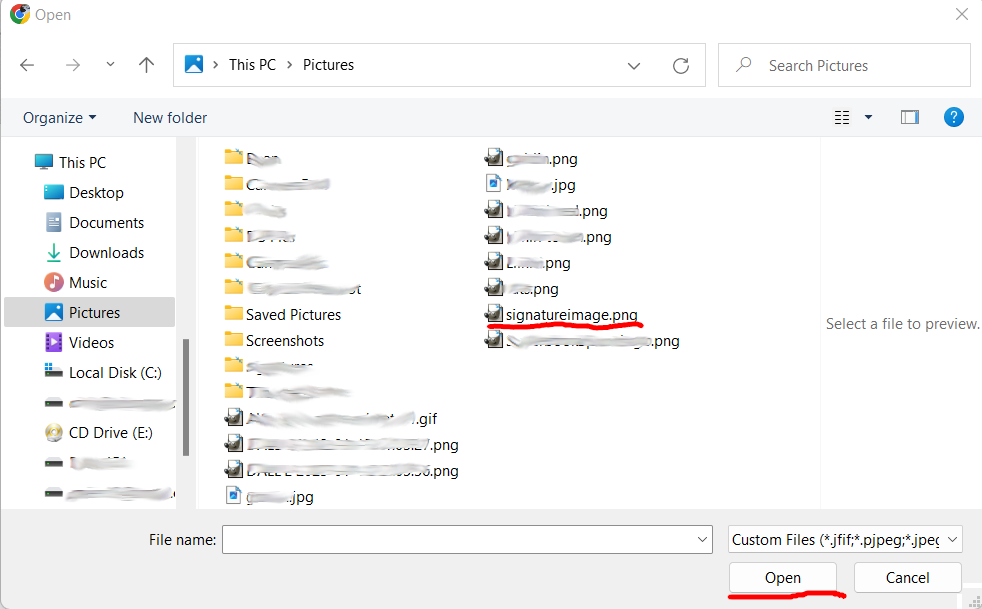

- When initially saving the image I like to put them in the pictures folder to make it easier to find. Other people just keep them in their download folder.
- When initially place the image may not be the size you want, you can click on the image and choose:
Small - Medium - Large - Original size - Remove. Try each and see which size you like best.
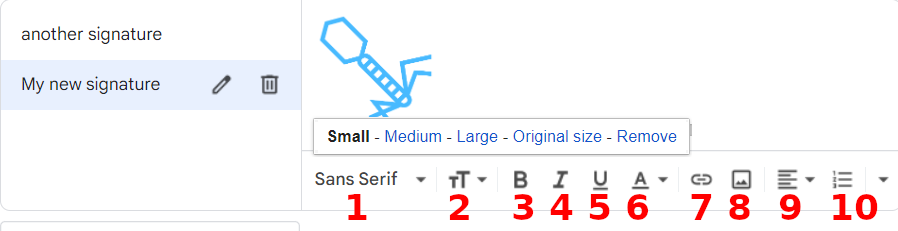
- Alignment can be adjusted to left, center, or right.

- You can also have a numbered list.
- The little triangle at the end gives you even more options. Take the time to get things just right.
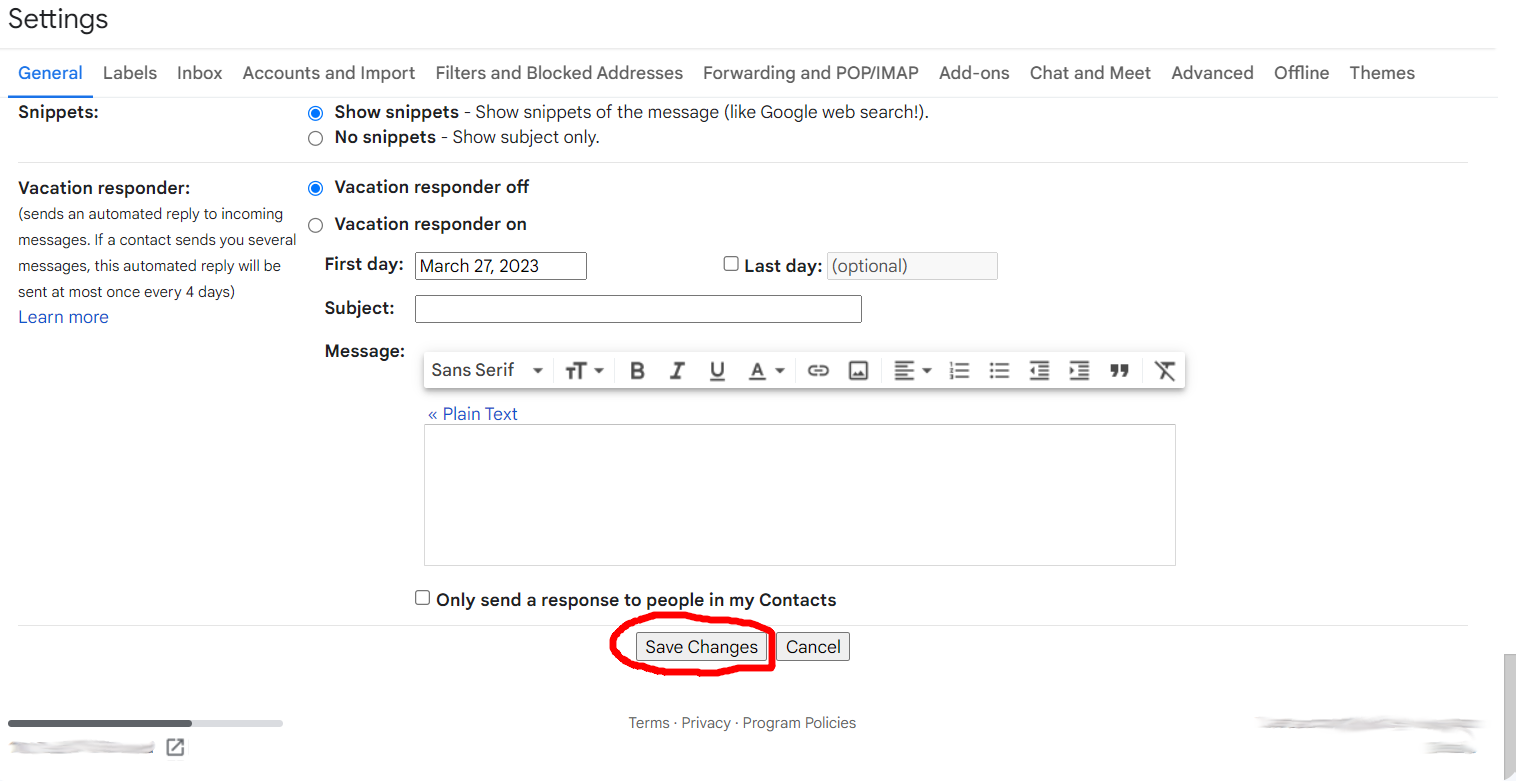
- Once you are satisfied don't forget to save your work. The button to save is at the bottom of the page.
eM Client:
- Open the eM Client program.
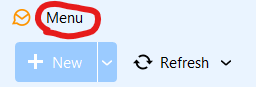
- Click 'Menu' in the top left corner of the window.
- Click 'Settings'

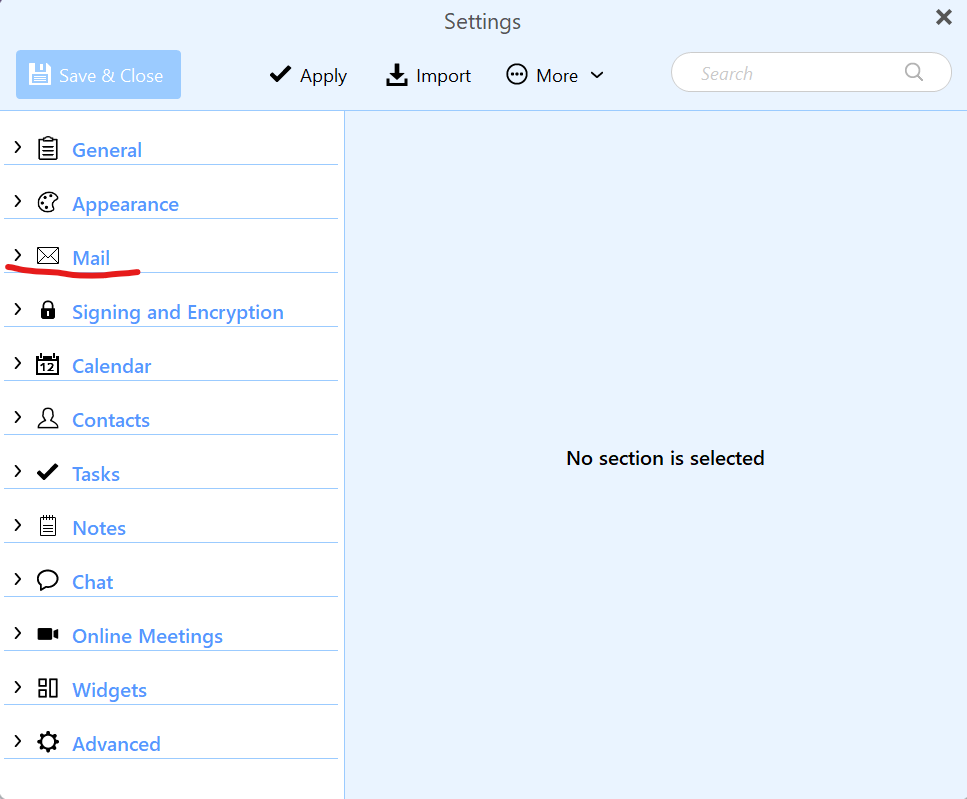
- Scroll down to the 'Mail' option and click it.
- Click 'Templates and Signatures'
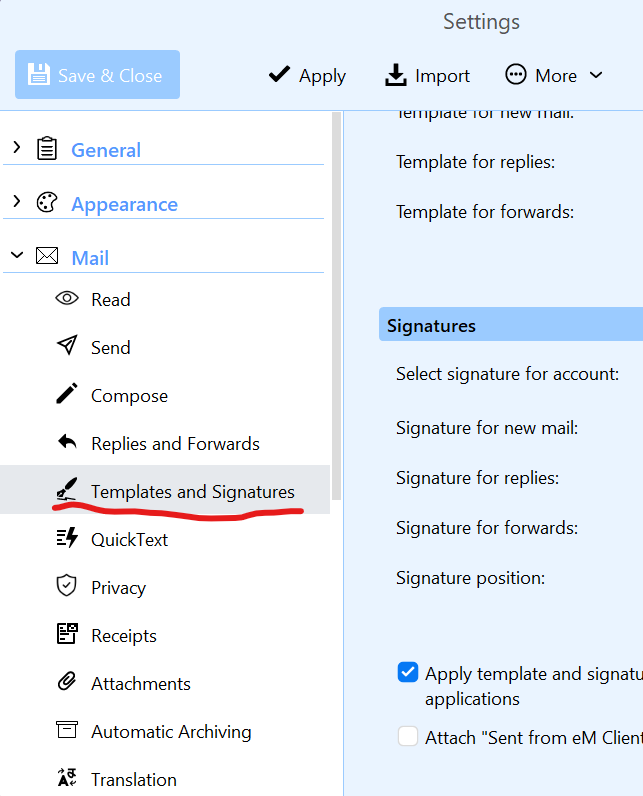
- In the 'Signature' section on the right, you can choose to have eM Client use a signature already set up in your email provider's (Gmail, AOL) settings or use one created in eM Client. Going forward will be how to create one in eM Client.
- Click the Signature button in the signature section on the right side of the settings window.
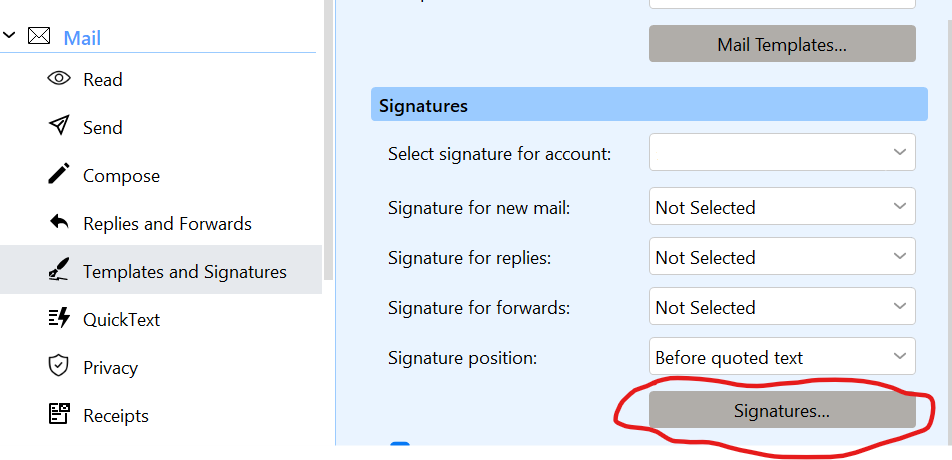
- Click New and start editing.

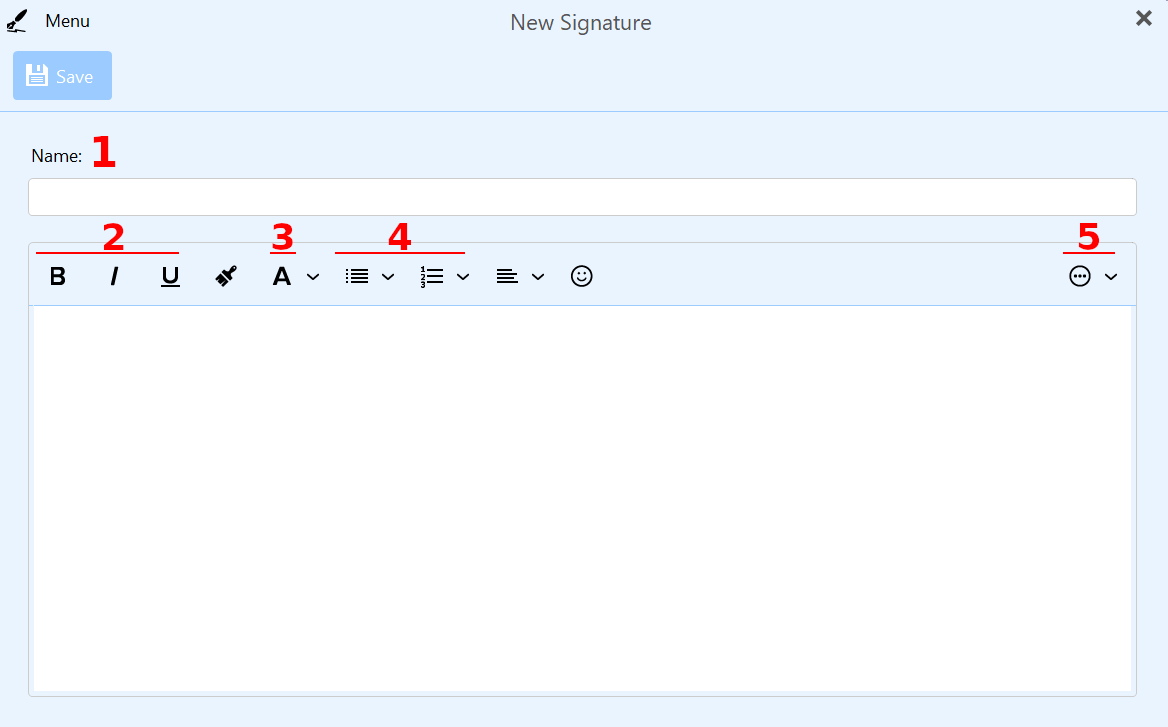
- As with the Gmail instructions, your new signature will need a name.
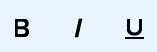
- The bold, italics, and underline icons are represented similarly in most text editors.
- eM Client bundles font type, size, and color under a single button.

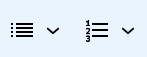
- Bullets and numbering are available as well.
- More editing options are available in the meatball menu
 on the right side. Inserting links and pictures can be found here.
- Once you are done click save
 and close the signature window. Keep the settings window open for now.
- You can set different signatures for each type of email listed in the Signature section using the drop-down menu next to each label.

- When you are done click Save & Close.